Painting Resources
a list of my favourite art supplies for painting, both for my work and a more affordable range i use for teaching which are perfect for beginners - I hope it helps.
Disclosure: Some of the links Below are affiliate links. If you decide to purchase any of these resources, I earn a small commission at no additional cost to you. I recommend these products only because I have experience with them and use them for my own business.

watercolours:
Paper:
Jacksons, Two Rivers: My favourite watercolour paper for my Mini Watercolours. The surface has a lovely texture to it, is very tough and the paint doesn’t absorb into the paper as well as other papers which allows me to create sharp, crisp details.
Aquafine Medium Cold Pressed: is what I use to teach with. It’s affordable and versitle - it works well for washes as well as details. I suggest cold pressed over hot pressed smooth as it’s easier to control the paint for beginners and I suggest buying the A3 pads so you have the option to work big or cut the paper to work small.
Paints:
I always suggest to my students to begin with buying a limited pallete and then branch out with additional colours after that.
My essentials include: Cadmium Red, Alizarin Crimson, Cadmium Yellow, Lemon Yellow, Ultramarine Blue, Cerulean Blue and Burnt Umbre.
My extras include: Naples Yellow, Quinacridone Gold, Raw Sienna, Quinacridone Rose, Indian Red, Phthalo Blue, Prussian Blue, Winsor Violet (Dioxazine) and Payne's Grey.
Beginner: To begin with, I suggest Aquafine Tube Range which I use during all my classes. They’re affordable and good quality.
Professional: To complete my portraits and own paintings, I use Winsor and Newton Professional range. These are slightly more expensive but produce more vivid colours and better coverage.
Masking Fluid:
This medium resists your watercolour, so it’s perfect for keeping the white of your paper, particularly for small areas and highlights. However, it can destroy your brushes if you don’t do this trick;
Put a drop of washing up liquid in water and have a bar of soap handy. Coat your brush in the soap and wash off the masking fluid after use in the washing up water. Once your painting is completly dry, rub off the masking fluid with clean hands or a clean rubber. If your paper is still wet, it will tear.
Masque Pen: Masking Fluid: I use this for masking off tiny little details on my mini watercolour portraits. Once the applicator is empty, I fill it up with Masking Fluid. There is a pigmented version that helps if you find it hard to see but personallly, I find it distracting so opt for the uncoloured version.
Brushes:
Mop Brush: My go to brush for mini portraits - holds a large volume of liquid so versitle for covering a large-ish area and the fine point allows detail. Rarely overspills so it its easy to use. Winsor and Newton number 3 is the size I use.
Liner: I use this Silver Liner for painting strands of hair
Details: For my Mini watercolours, these Miniature Brushes are handy for adding in tiny details. Their thick handles are particularly useful for added control.
Flat Brush: My go to brush for washes and bigger paintings. I use a 2inch Jackson’s Icon brush and a 3/4 Jacksons Studio
Beginners Set: I’ve whittled my pack down to using mainly the ones mentioned above, but if starting, I reccomend you get a starter pack and try out the brushes yourself: the Aquafine range is an affordable range and good quality, they’ve a number of sets you can pick up to begin with like this one.
Oils:
Oils aren’t as complicated as they’re made to appear. Once you get your head around the mediums and you embrace the drying times, they are a joy to work with.
My 9 essentials on my palette are; Titanium white, Cadmium Yellow Pale Hue, Cadmium Red Deep Hue, Yellow Ochre, Naples Yellow, French Ultramarine, Cerulean Blue, Raw Sienna, Burnt Umber and Black.
Beginner: Winsor and Newton are good value.
Professional: I work with Rembrandt brand for my Commissions. They’re slightly more expensive but their paint is packed with pigment which gives a deeper coverage.
Mediums:
They Begin as a mystery but as you try them out it all becomes easier. I’ve a Demystifying Mediums handout I use in classes - it’s not pretty and it’s a dull read, but you’re welcome to download it by clicking: Oils Set UP.
Oils & Solvents: A Linseed oil and Low odour solvent is enough to begin. These mediums thin your oil paint to make it easier to work with and speed up the drying time.
Gesso: Is used to prime a surface to paint on. I normally work with pre-gesso’d linens or canvas and draw on the imagery I want to create. Next, I cover the drawing with a layer of clear Gesso so that when I begin painting the oil paints and mediums don’t pick up the lead and grey the washes.
Surface: I prefer linen over canvas but I also use watercolour paper and plywood boards primed in gesso for more affordability.
Truthfully, I have a very large linen roll and I can’t remember what type or brand it is, but these linen texture sheets look similar in texture and are a better price to begin with than investing in a roll. However I have not personally used this item.
Acrylics:
paints:
Again, I suggest to begin with buying a limited palette if you’re new to painting - one red, blue, yellow, brown and white.
My go to’s are; Cadmium Red, Alizarin Crimson, Cadmium Yellow, Lemon Yellow, Ultramarine Blue, Cerulean Blue and Burnt Umbre.
My extras are Naples Yellow (essential if you paint portraits), Raw Sienna, and Payne's Grey.
Beginners: This set of 6 is a good place to start.
Professional: Using the colours above, I prefer the Golden Range of Fluid Acrylic Paint for their intensity of colours.
mediums:
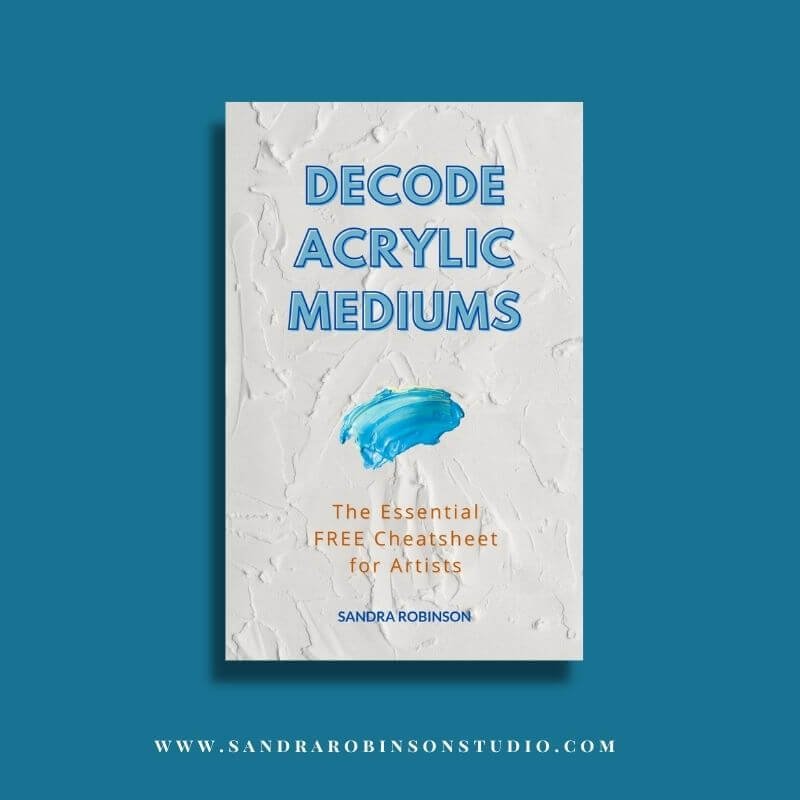
Acrylics and their mediums can be really confusing. You’re welcome to download the FREE Guide which breaks down Mediums and their uses below:
Glazing Medium: I own a few brands and all are very similar, Winsor and Newton Glazing Medium combine affordability and quality. This allows you to create really translucent layers of paint, perfect for warming up or cooling down areas.
Slow Drying Medium: An essential in the kit if you struggle with drying times. Add a little Liquitex Slow Drying Medium into your paints to give you more working time and help with blending. I use the Golden Range but they’re a bit more pricey.
Modelling Paste: For textural studies, this paste allows you to create thick peaks or paint in an almost relief fashion. It’s made of marble so is very heavy and therefore works best on board. You can create a textured surface and then paint over it, or else tint the paste with your paint. Liquitex is my preferred choice.
Flow Improver: Add a few drops into your water to extend the coverage of your paints. A little goes a long way so pick up the smallest Winsor and Newton Flow Improver.
Need Help with Colour?
Get the FREE Bundle: 5 Days to Better Paintings with Colour Theory 101 Cheatsheet below:

Build your Colour knowledge with this free cheatsheet & email course!
Just Imagine:
You can confidently mix up your own colours, rather than solely relying on pre-mixed paint
You can actually understand all that Fancy Colour jargon people talk about like tertiary colours, analogous schemes, subtractive mixing
You can sit down and just paint freely, rather than struggling with a huge frustrating hurdle to mix *that* colour before you've even put a dab of paint onto your canvas
You know how to mix vivid intense colours, rather than constantly creating mud
Well, imagine no more!
The Colour Theory 101 Cheatsheet will decode all the essential information you need to know and give you the knowledge to approach colour mixing and painting with confidence.
But not only that, you'll have access to the FREE course, 5 Days to Better Paintings to further cement the lessons from the Cheatsheet. Lessons like:
DAY ONE: Let's Build Your Painting Foundation
DAY TWO: The Best Teacher you'll Ever Have
DAY THREE: How to Make Mistakes Matter
DAY FOUR: 8 Ways to 'See' Like an Artist
DAY FIVE: The Secret to Making Better Paintings
Bypass years of trial, error and frustration and pick up your copy of Colour Theory 101 Cheatsheet below!


If you’ve never shopped with Jackson’s - click the image above or any of the links, it provides you with 10% discount on each purchased item but only if it’s your very first ever order with Jacksons, 0% on each purchased item of next orders, or if you’ve previously purchased from them before. Enjoy!
Disclosure: Some of the links above are affiliate links. If you decide to purchase any of these resources, I earn a small commission at no additional cost to you. I recommend these products only because I have experience with them and use them for my own business.
